How to Make a Easy Sun in Illustrator
Introduction to Sun in Illustrator
Adobe Illustrator is a vector drawing software, and it is the most preferred graphic designing package for vector art by professionals. In this article, we are going to create a graphic design of the sun in adobe illustrator 2020, which will emphasize the use of shapes and fills with gradients. We will also use layers, masking and pencil tools and a host of other useful tools, and to set the scene, we also make mountains and water effect.
How to Create Sun in Illustrator?
Below are the steps to create a Sun in Illustrator:
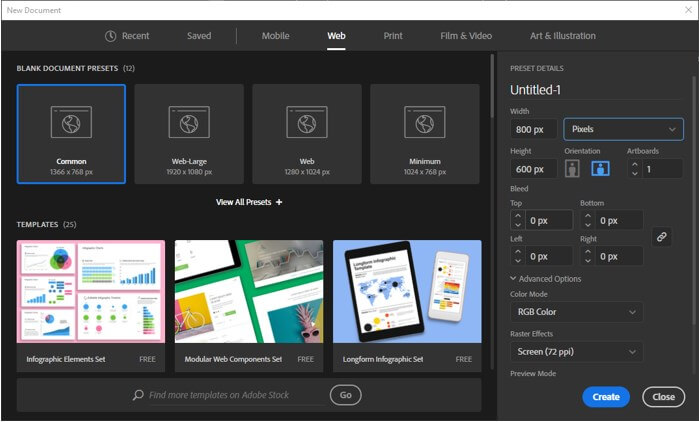
Step 1: We will create a new document with all the standard settings and set the width to 800px and height of 600px. Set the orientation to landscape and set the artboard to 1 also, the bleed is 0 px with color mode of RGB Color, and there is another option of CMYK, which is useful if we are using it to print. But since we are not printing, we leave it in RGB mode. Also, set the raster effect to screen as we are not using any raster effects like a drop shadow.
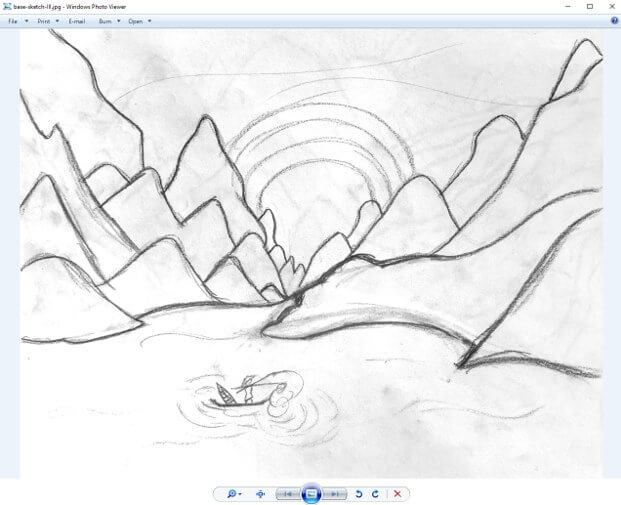
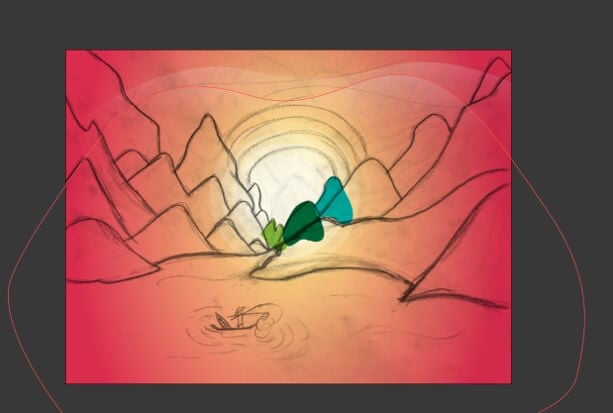
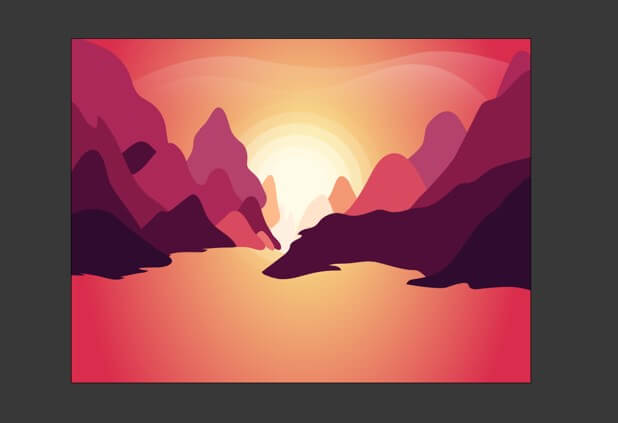
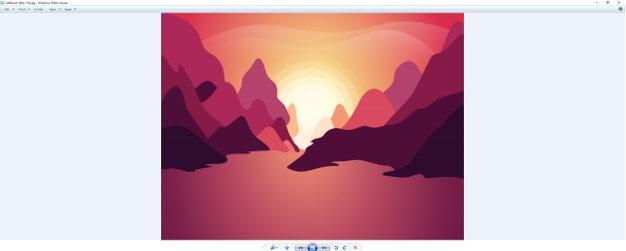
Step 2: We will make use of the following reference image as a base for the art.
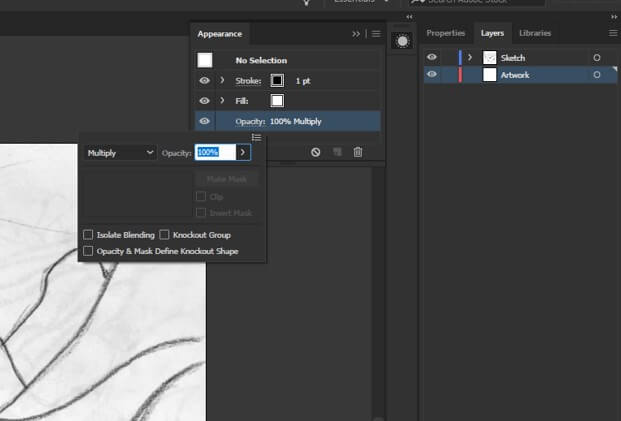
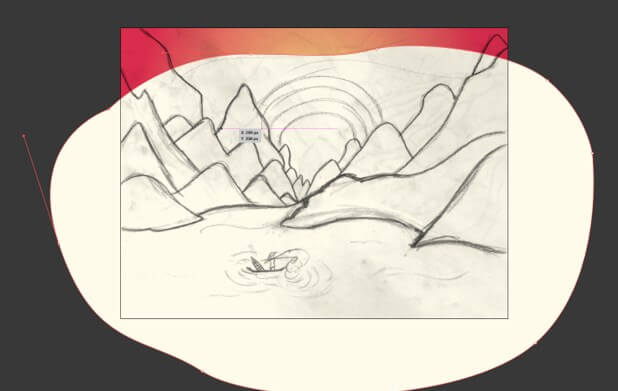
Step 3: Drag the reference image on the artboard, resize it according to the artboard, put it on the sketch layer in the layer panel, and lock it by clicking on space after the eye icon. Create another layer for the artwork and name "Artwork".
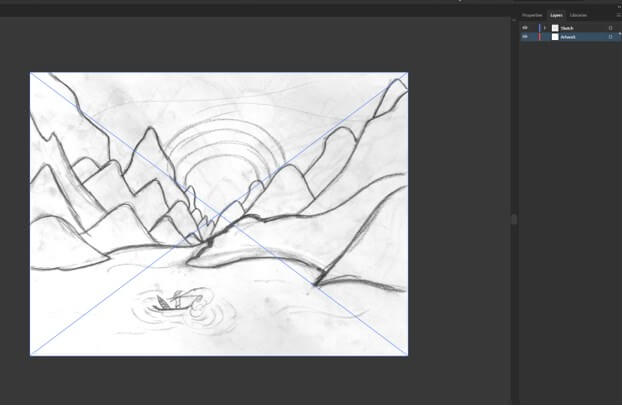
Step 4: Open the Appearance panel from the Window menu, set the blend mode for multiply for "Artboard", as we can see the sketch beneath when we create our artwork.
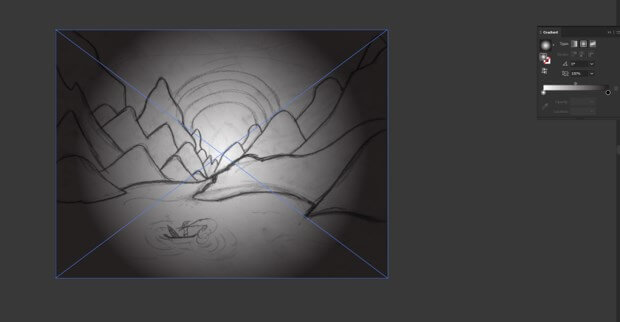
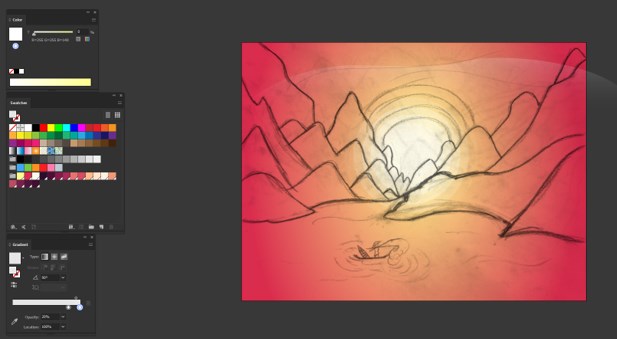
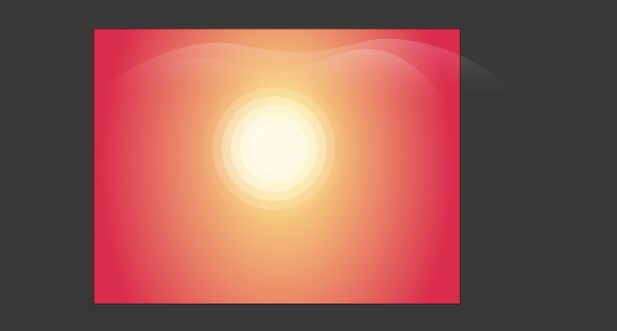
Step 5: Using a rectangle tool, create a rectangle, open the Gradient panel from the Windows menu, and apply a radial gradient.
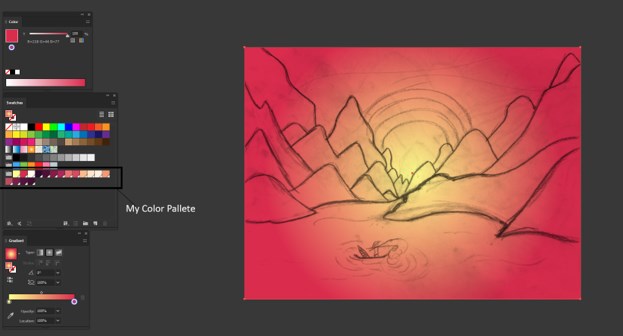
Step 6: Create a color palette according to the scene as I have created my palette in the swatches panel so we can use those colors as shown. We have changed the white and black color to yellow and red as shown.
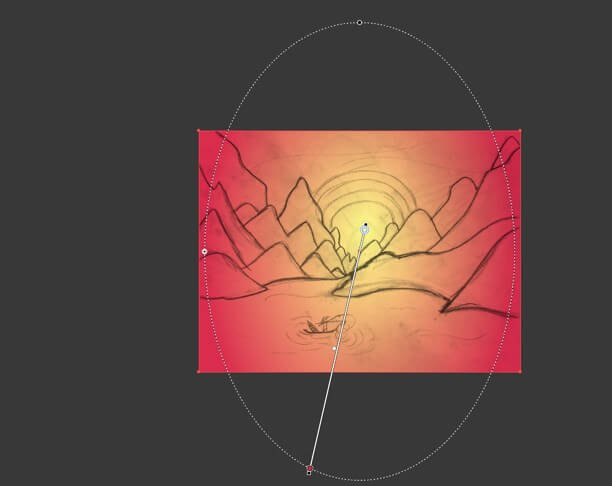
Step 7: Change the gradient color by dragging the handle on top.
Step 8: Use the ellipse tool to create a circle. Hold the shift key to get a circle and fill it with the color in the palette.
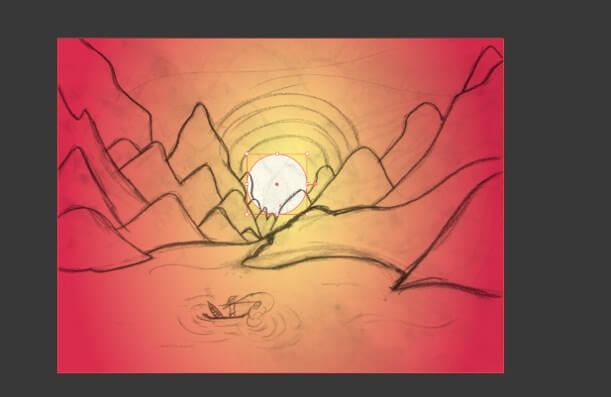
Step 9: Now, use the offset path tool while selecting the circle to create an offset from the quick actions in the properties panel. Set the offset to 20px and set the opacity to 80%.

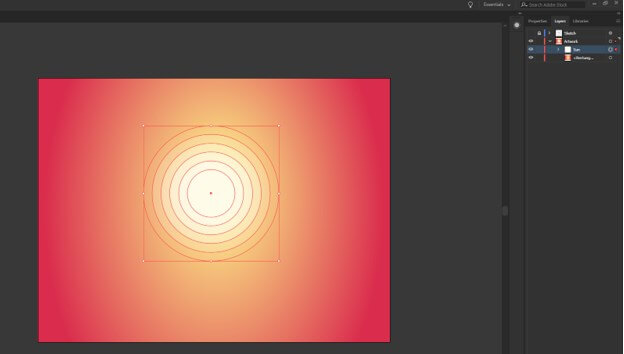
Step 10: Then repeat the above steps 5 more times, gradually changing the opacity to 65%, 50%, 35%, 20%, 5%. Group the circles with CTRL + G or go to the object menu and group. Give the name "Sun" to the group in the layer panel. Lock the sketch layer.
Step 11: To make the cloud or reflecting sunlight, we use the pen tool and create the shape as shown.
Step 12: Now fill it with a gradient of white to black, then change the black to white and the opacity to 0 and angle to 90 degrees and reverse the gradient so that white is at the top. Adjust the slider as shown and also reduce the opacity of white color to 20%
Step 13: Repeat the same steps one more time, as shown below, to create another cloud reflection. Adjust the angle of the gradient for variation. Now hide the sketch layer to view the preview.
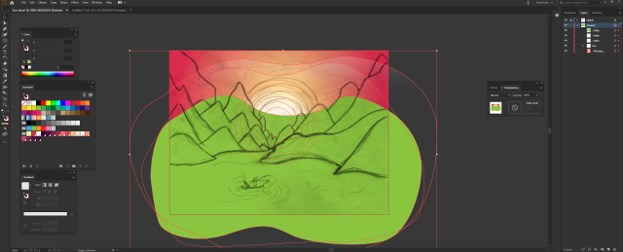
Step 14: As we can see, that reflection is out of the artboard. I have created a dummy shape of the green and shown it. Now we will create a mask to show only the artboard. For this open transparency panel from the windows menu. Select all objects in the Artwork layer and create a Make mask
Step 15: Create a rectangle with the same width and height as the artboard
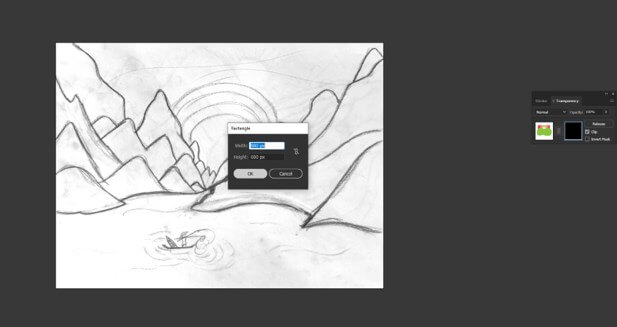
Step 16: Change the color to white. So now the area outside the mask will be clipped, and you can see the layer name is underlined with a dashed line to indicate that it is masked.
Step 17: Delete the dummy green object, and now we can start working on the mountains; for that, we use the pencil tool, and the following are the options. We will set to fill new pencil strokes as we want a fill after we create a mountain. Also, set the fidelity on the accurate side as we want our mountains to be jaggy edged. You can create it with a mouse, but I have used a graphic tablet for more control of the shape.

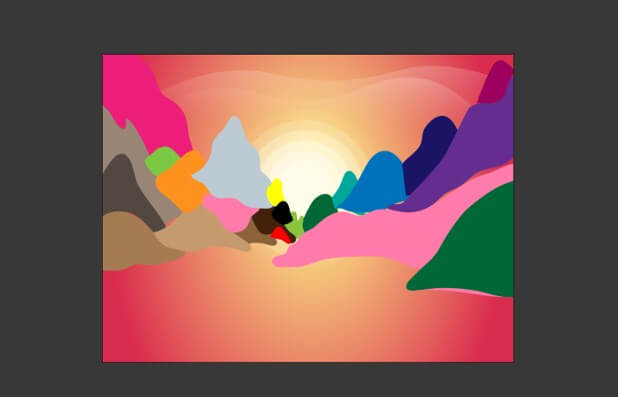
Step 18: As shown, we have created few mountains and pick random fills so that we can differentiate between mountains.
Step 19: All mountains are made, and the sketch layer is hidden to get a better view.
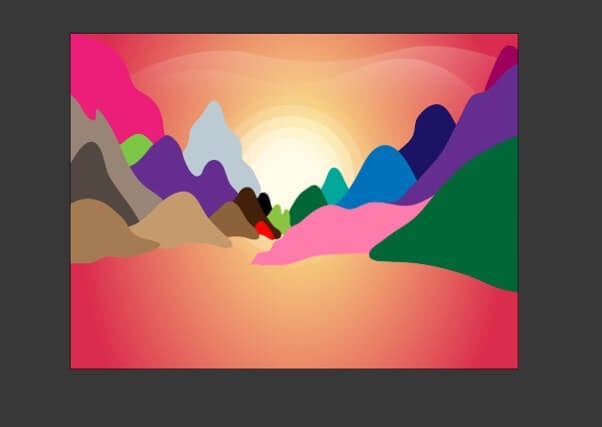
Step 20: Now, we adjust the shapes of mountains so that there are no gaps in between, as shown. Also, we have changed the stacking order of the mountains to set which are in front and which should be in the back. You can arrange by bringing forward (CTRL + ]) and send backward (CTRL + [).
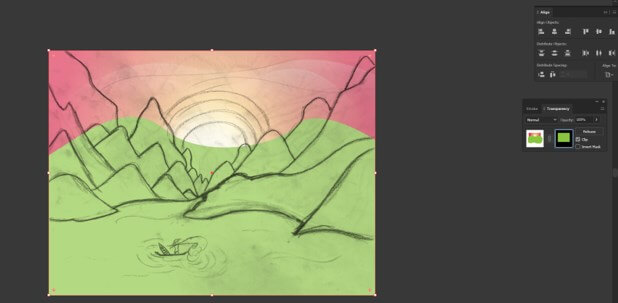
Step 21: Now, we have started adding actual colors from our color palette. The mountain in the front is dark, and as we move backward, it actually lightens in the shade.
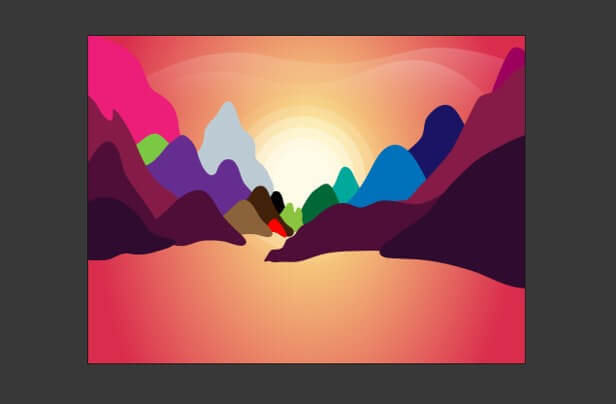
Step 22: Now, we have complete the mountains with all the shades from our swatches.
Step 23: To create a simple water effect, we first create a rectangle with no stroke and any fill.
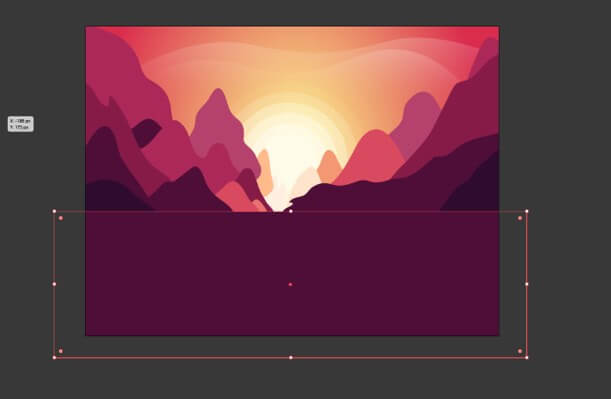
Step 24: Now set a radial gradient and add 3 more stops at 25%, 50%, 75%, and select appropriate color from the swatches as shown.
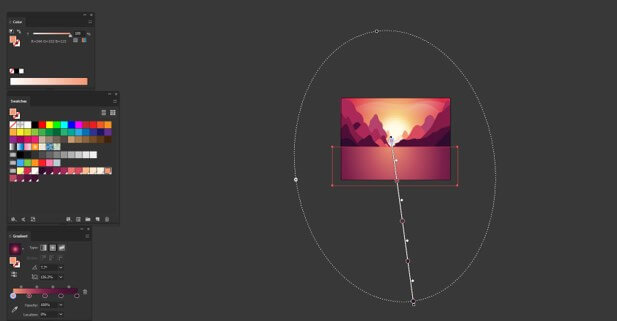
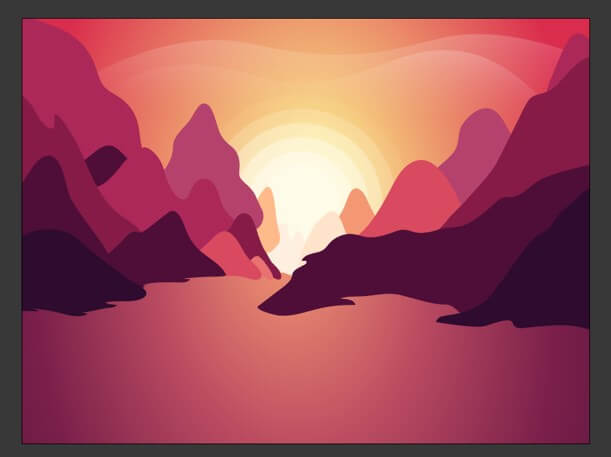
Step 25: Then send the layer backward behind the mountains but in front of the sun.
Step 26: Now it is time for the export; as we can see below, we have the option to select the artboard and the location. Also, we can select which format we have to export. We have selected png and jpg 100 and the scale of 1x and 2x, which will be double the size and click export.
Conclusion
In this article, we have learned how to create a sun in Adobe illustrator but also learned the techniques of using various tools like layers, masking, gradient, pencil tools, and pen tool to create an amazing artwork that will enrich your knowledge as well as your portfolio.
Recommended Articles
This is a guide to Sun in Illustrator. Here we discuss the introduction, how to create Sun in Illustrator in a step by step manner. You can also go through our other related articles to learn more –
- How to Make Logo in Illustrator?
- Watercolor Brushes Illustrator
- Resize Image In Adobe Illustrator
- How To Warp Text In Illustrator?
Source: https://www.educba.com/sun-in-illustrator/
0 Response to "How to Make a Easy Sun in Illustrator"
Post a Comment